
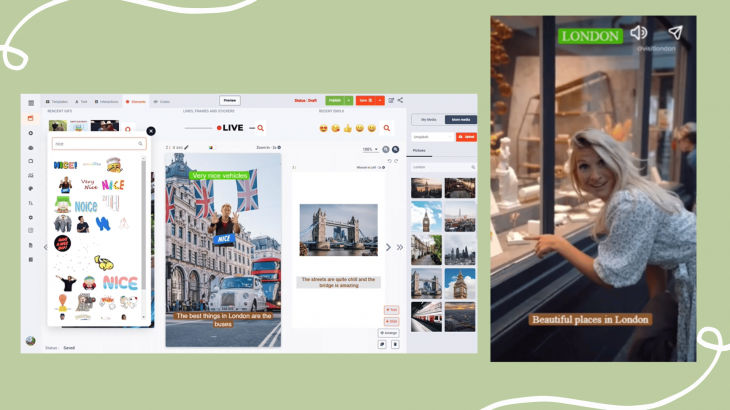
How to manually create & edit a Web Story on Reeporter.
In this post, we will show you how to manually create and edit a Web Story on Reeporter from the desktop studio in 5 minutes and in 5 steps.
You can watch the full video below or follow the step by step guide right below the video.
Step 1.
- Connect to Reeporter Studio : www.studio.reeporter
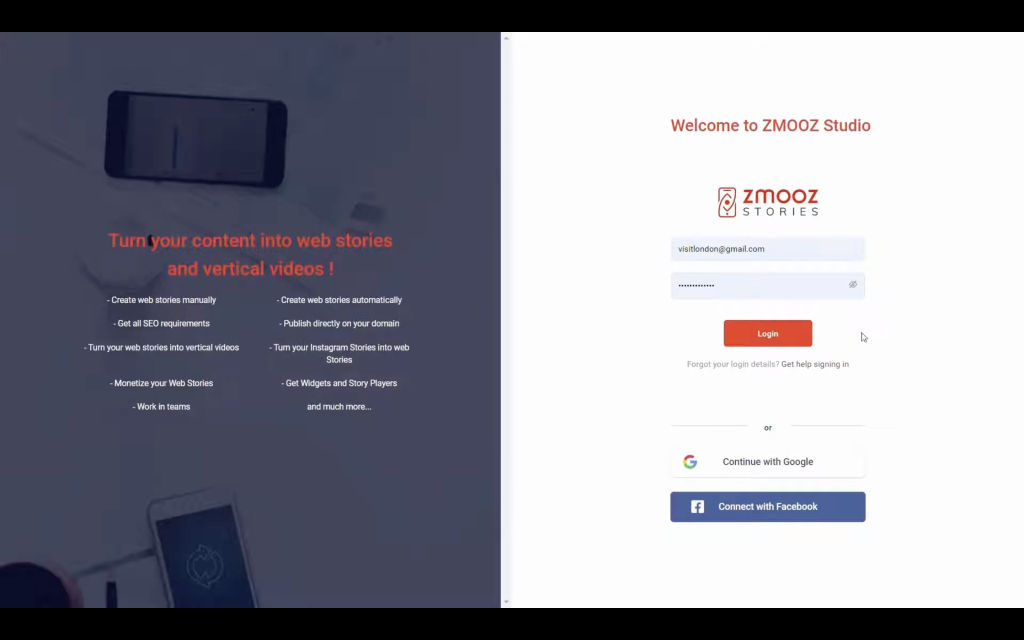
- Then click on the menu icon “New story”.
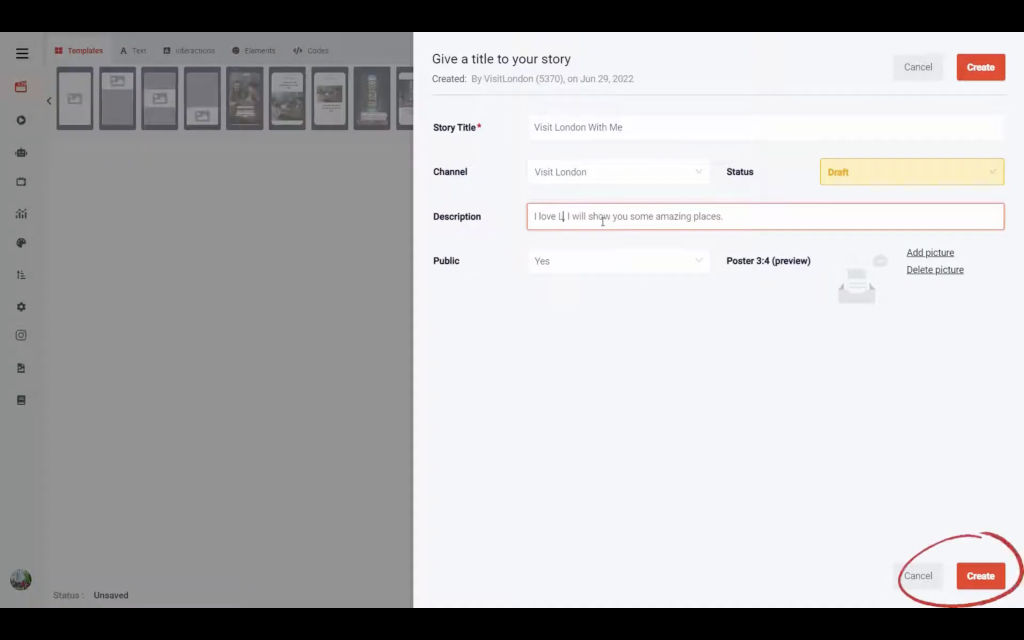
- In the form, enter the title of your story.
- Select the channel to which your story will belong. A channel is usually linked to a website name.
- For example, if your website name is VisitLondon.com, you can name your channel Visit London. You can edit the channel name anytime after the story.
- If you only have one website, you will only need one channel.
- If you wish, enter a description of your story. This is very important for Google SEO. You can also change these meta descriptions at any time later.
- Then click on the button: Create.
Step 2.
- A List of available templates will appear for you to select.
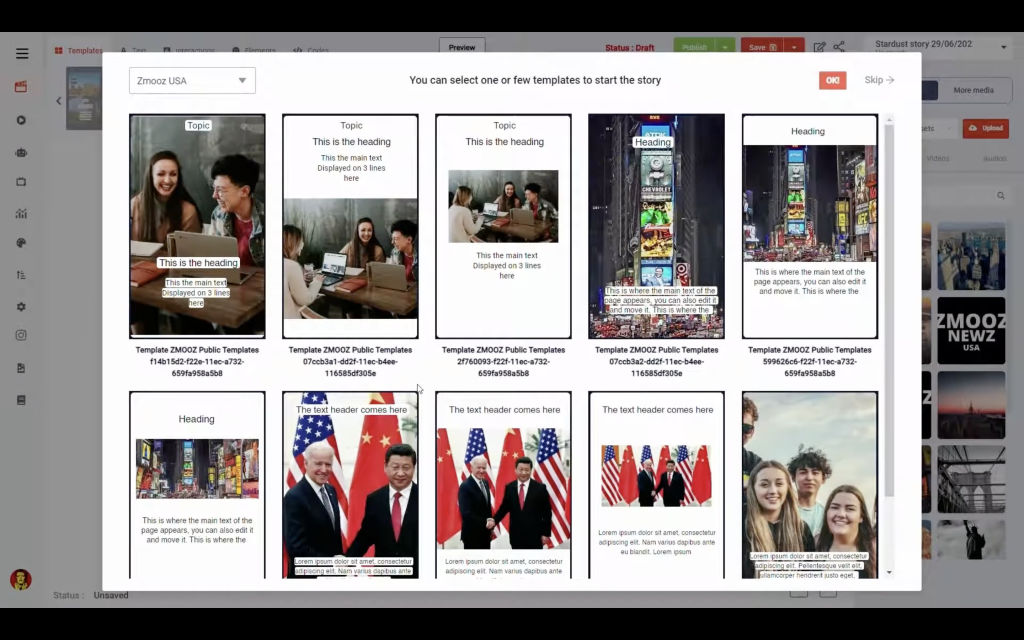
- You can skip this step and create your story from scratch or, select one or more of these templates and pre-build the structure of your story in a few clicks.
- Click OK and they will appear in the story draft.
- You will then be able to change the images and edit the text.
- If you decide to skip this step.
- Click on Skip, your story draft opens, with a blank slide
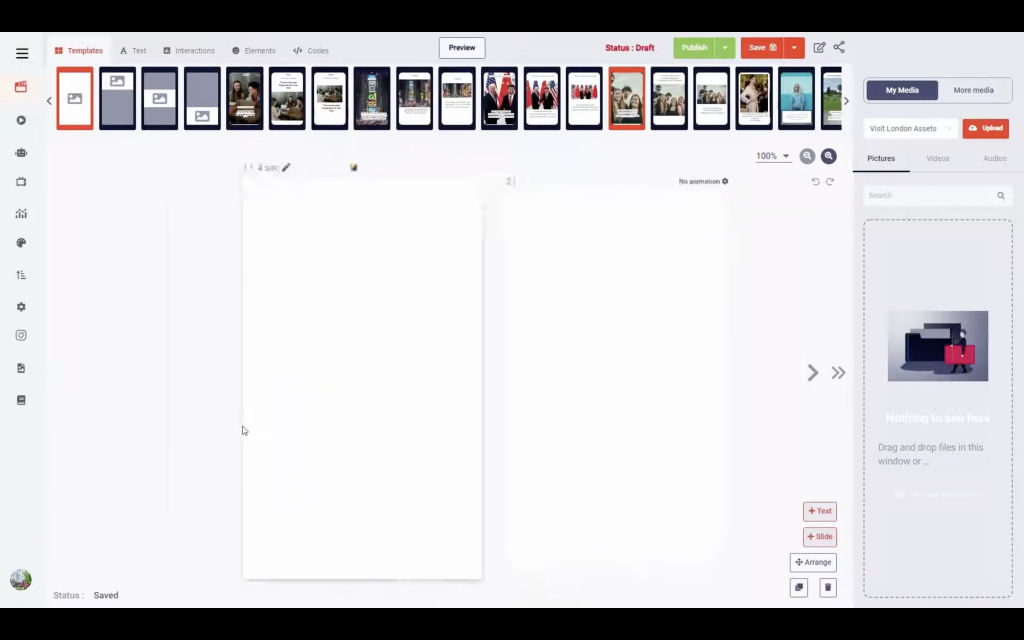
- You can upload your own videos or images, then add them to your story and edit your text as you wish.
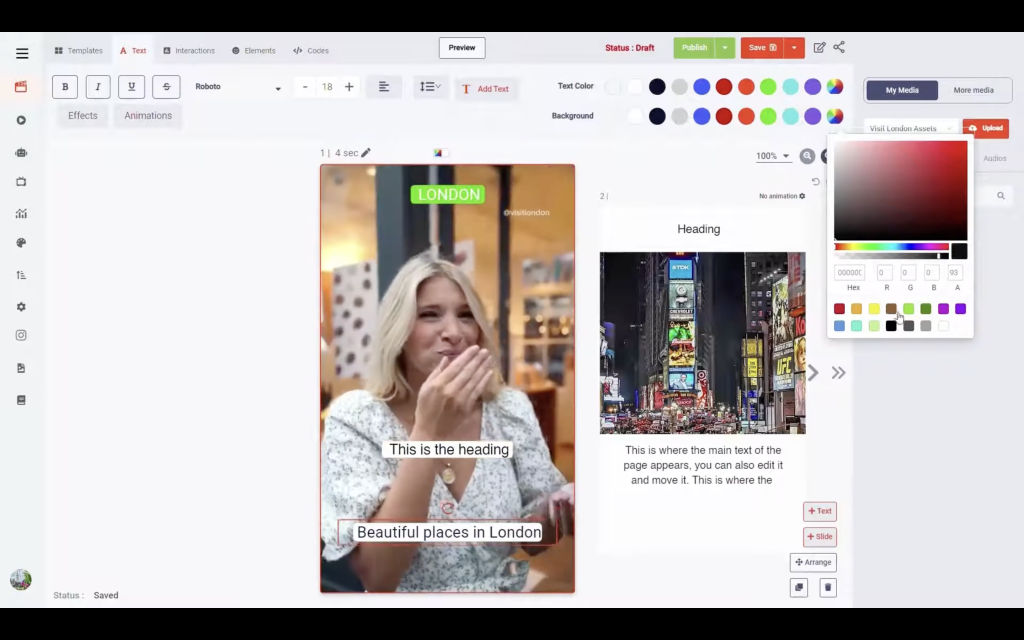
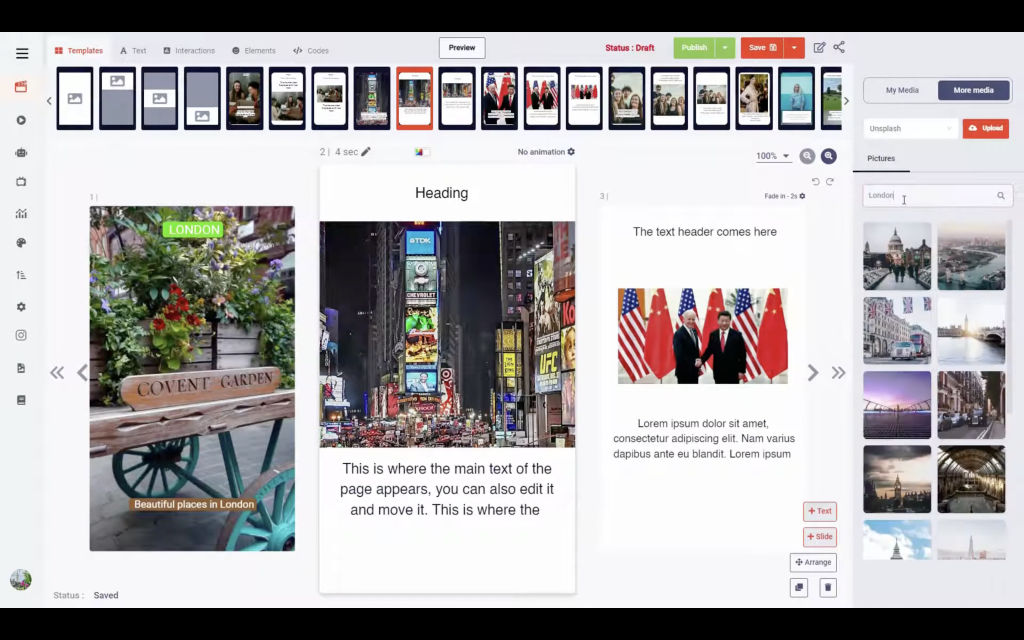
- You can also use the free media available by clicking on the “More Media” button.
- You can then select Unsplash or pexels free images to add to your story.
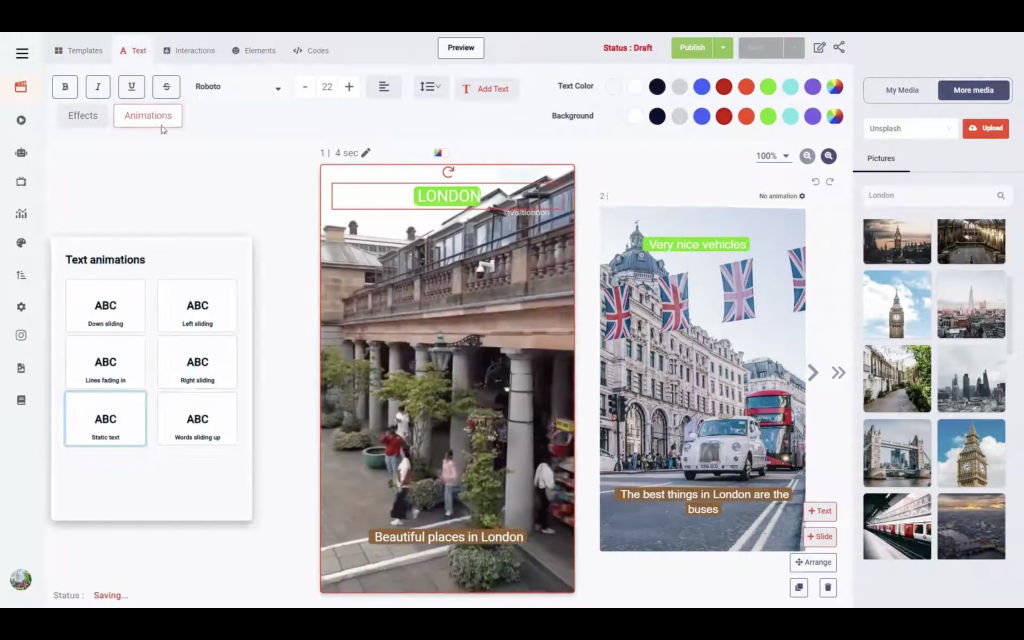
- You can eventually animate your text and images, add fonts, gifs, emojis, any feature, etc.
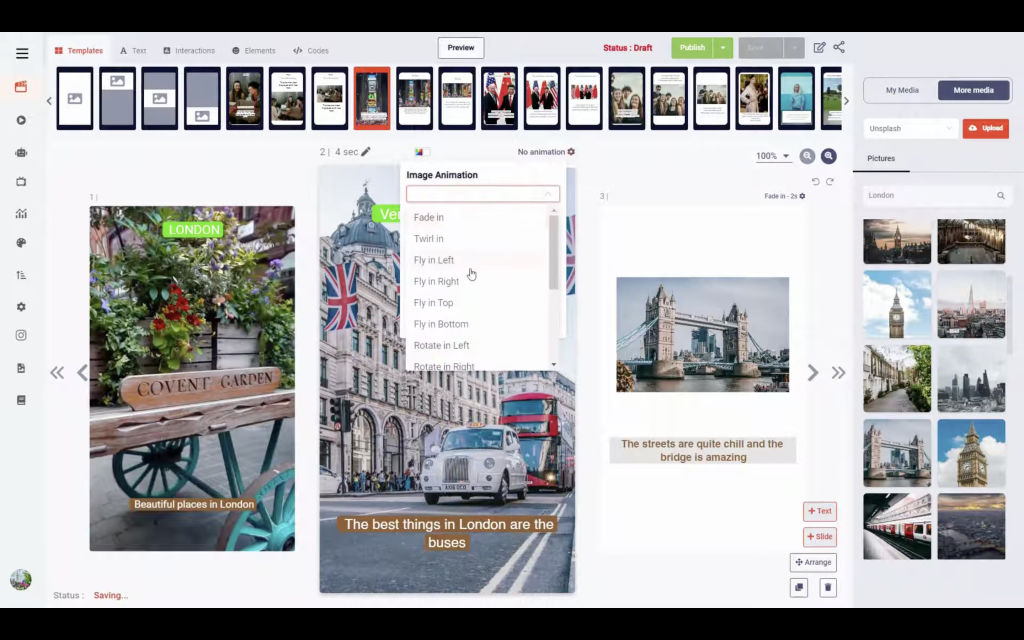
Step 3.
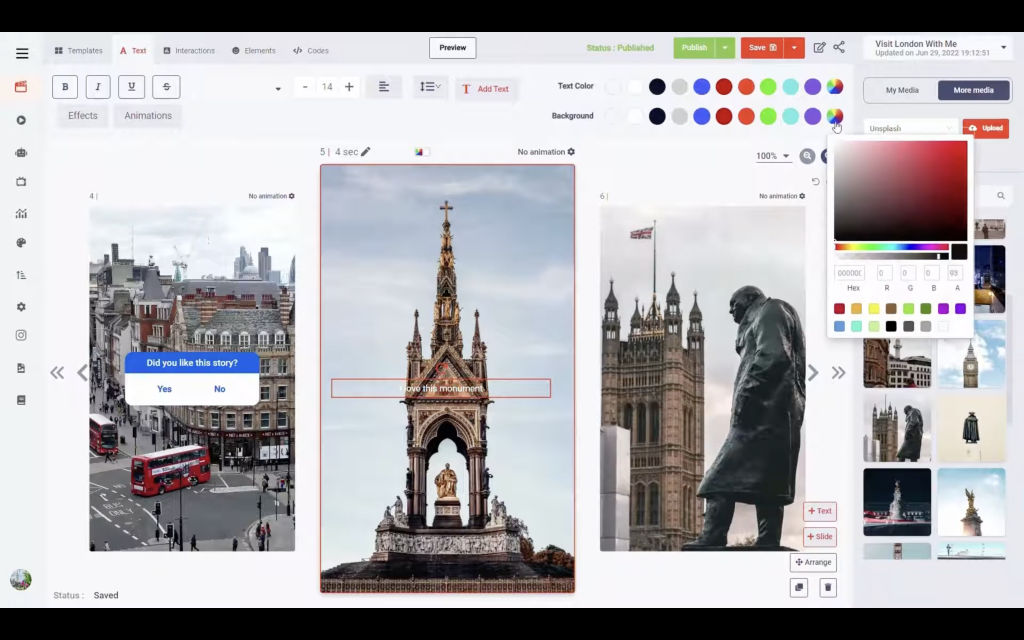
- To add more slides, simply click on the “+ Slide” button.
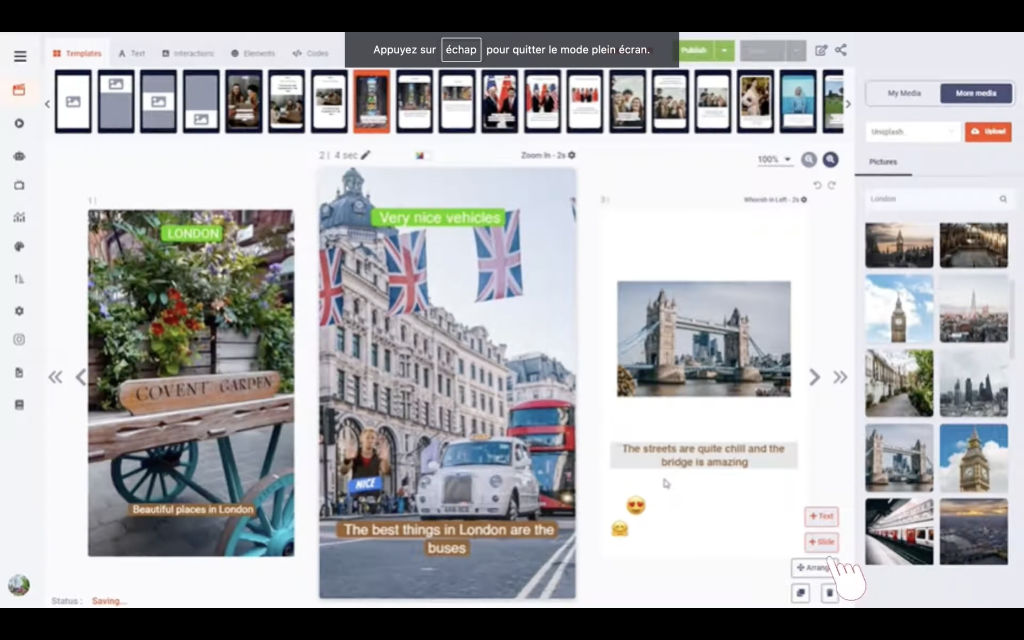
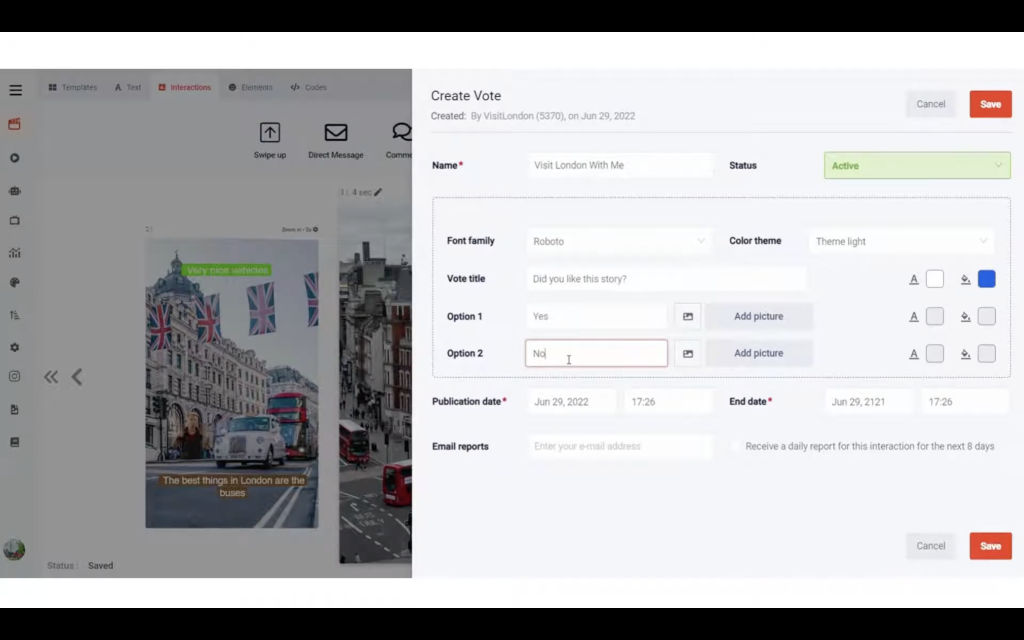
- Then edit the slide as you wish, upload images, add text or interactions like “votes” or swipe-ups, links, etc.
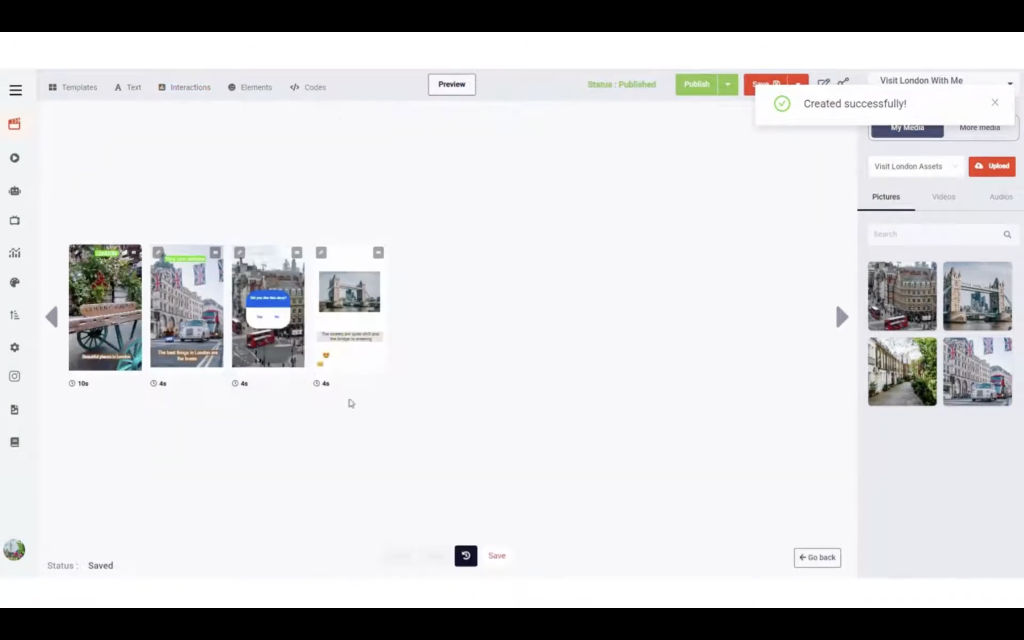
- To reorder your slides, click the “Arrange” button and then save.
- To add text blocks, simply click on the “+ Text” button and edit the text as you wish.
Step 5
- To optimize the traffic of your web story on Google and Google Discover, open the metadata form and enrich the title and description as much as you can.
- You do not need to create the posters, Reeporter will generate them automatically when you click on the button : “Generate” or on the “Publish” button
- If you click on the “generate” button, all the 4 poster formats required by Google will be generated automatically in less than a minute.
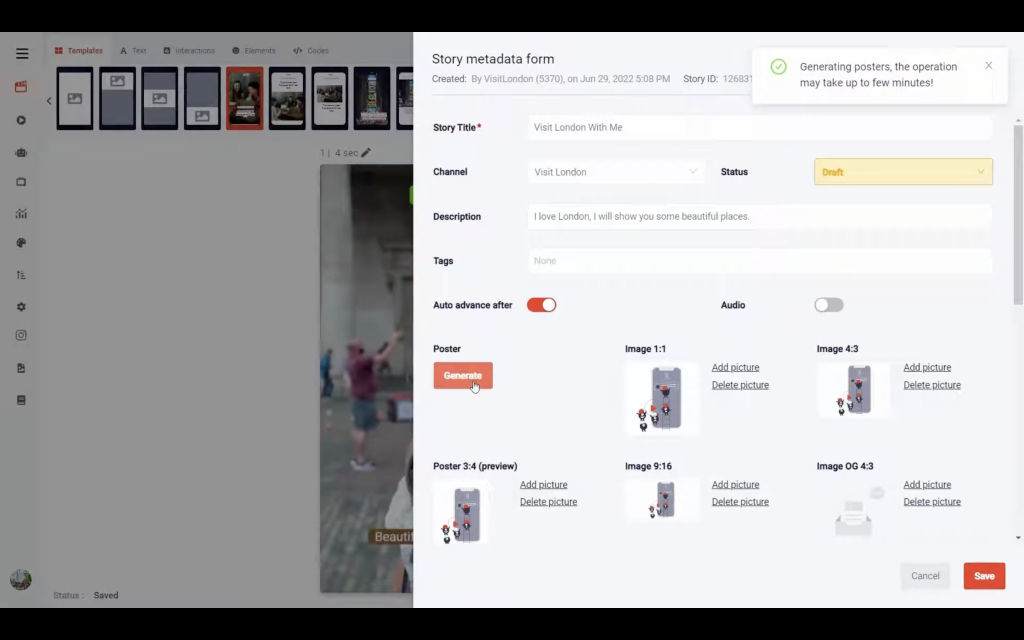
- Then click on the “Publish” button and your story will be automatically available on a browser on Reeporter or on your site.
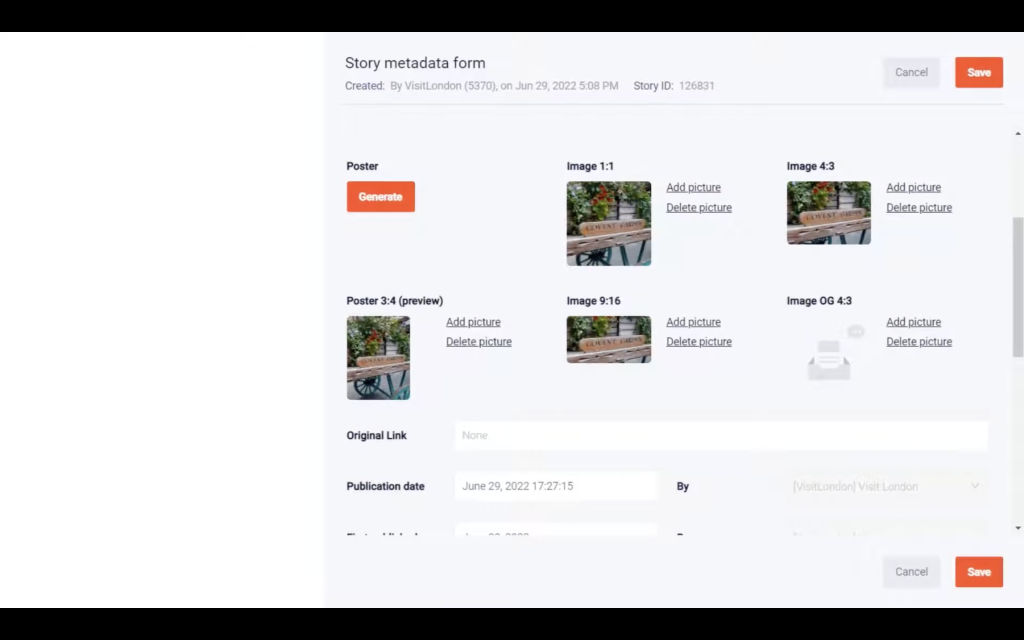
- Reopen the form and you will see the posters generated automatically
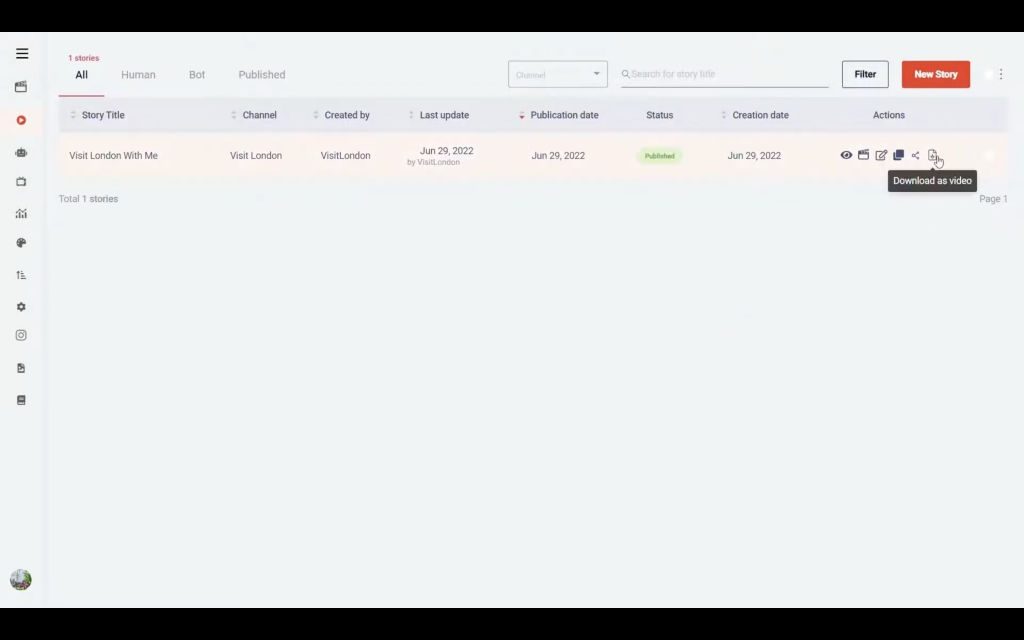
- If you click on the “Eye” icon, you will preview the story.
- Click on the share icon to get the link or the code of your story.
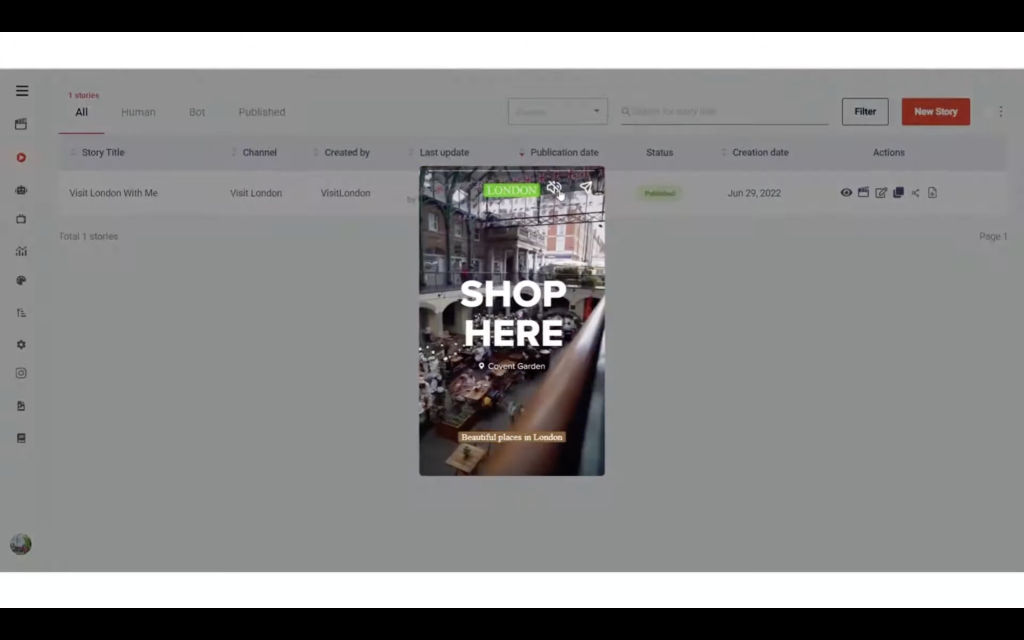
- Click on the download icon, if you wish to get your story as a vertical video.
Let us know your feedback at [email protected]
Leave a Reply