
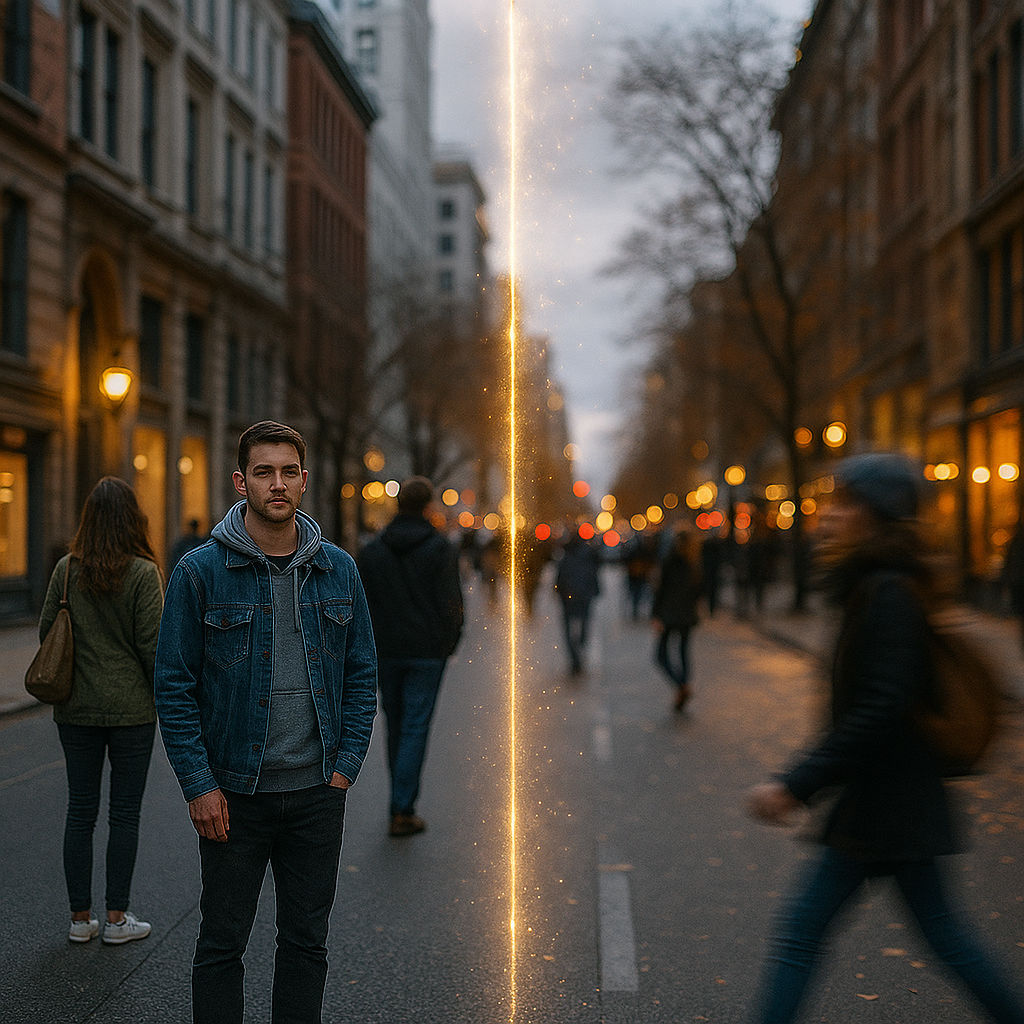
🚀 Summary
1️⃣ Context: describe the environment and atmosphere of the scene.
2️⃣ Animation: define the actions or movements happening in the scene.
Once both parts are written, you can add a few reference images if needed — then let Reeporter AI bring your story to life. 🎥✨
🎬 Introduction
You’ve written your prompt and generated your first video with Reeporter AI.
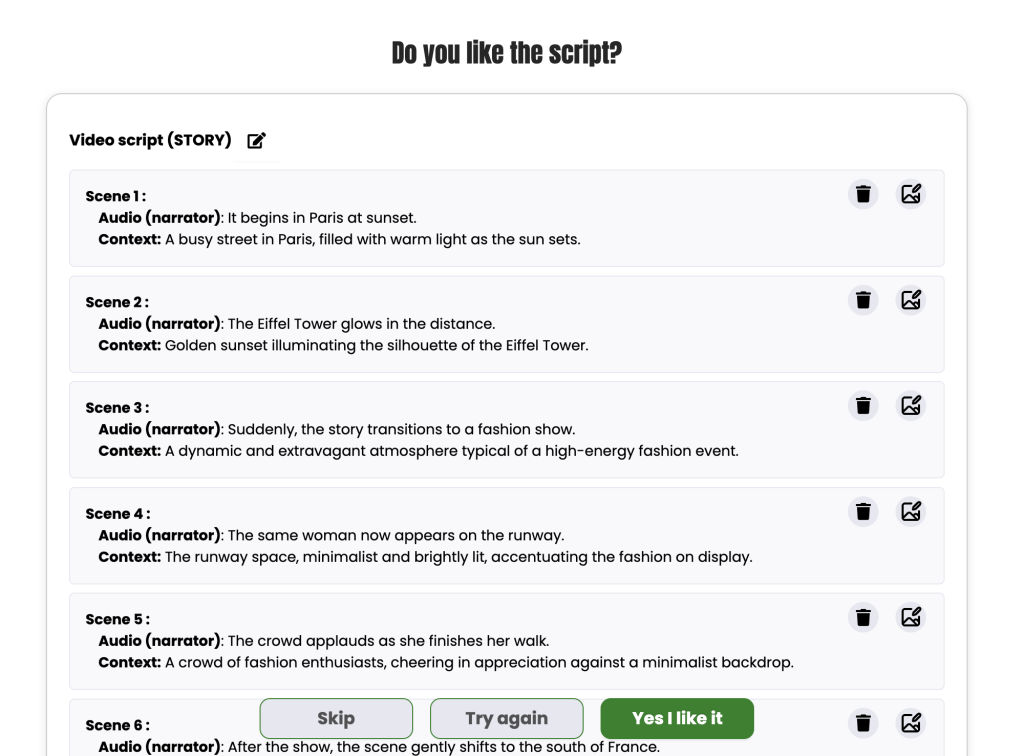
In this first step, Reeporter shows you the complete script of your upcoming video.
Take a moment to review it carefully and make sure everything fits your vision before moving on to customization.
✨ Why Customize Your Scenes?
Every scene generated by Reeporter AI can be fully customized to better reflect your idea, your message, or your brand.
By adjusting the context (the place, mood, or environment) and the animation (what happens in the scene), you can make your video look more realistic, expressive, and engaging.
This is the stage where your vision truly comes to life, transforming a simple prompt into a captivating visual experience.
⚠️ Important — Example Without Characters
This example does not include any characters or presenters.
It’s meant to show how to build a scene using only context and animation.
If you want to add a character to your scene, make them move or speak, check out the guides below 👇
👉 Learn how to animate characters here:
🔗 Animate Characters with AI — Reeporter
👉 Want to add a presenter or make your characters talk?
Follow this tutorial:
🔗 Make Characters Talk with Reeporter AI
🪄 Step 1: The Context
In the “Context” box, describe the visual environment or general situation where the scene takes place.
This description helps the AI generate the background, lighting, and overall atmosphere of your sequence.
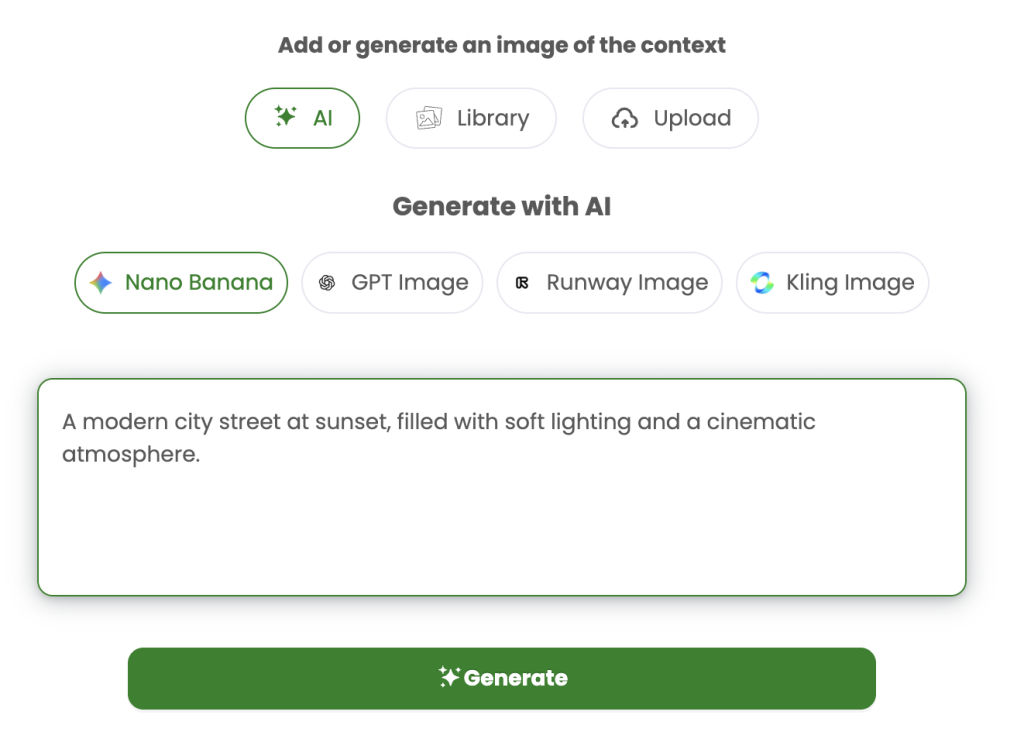
You can create the context of your scene in 3 ways:
- By generating it with the AI tool of your choice (Nano Banana, ChatGPT, Kling, etc.)
- By uploading an image from your device
- Or by describing the context directly in the “Prompt” box
If you generate multiple images and only select one, the others are not lost — they are automatically saved in the “Library” tab, so you can reuse them later. ✅
📝 Good examples of contexts:
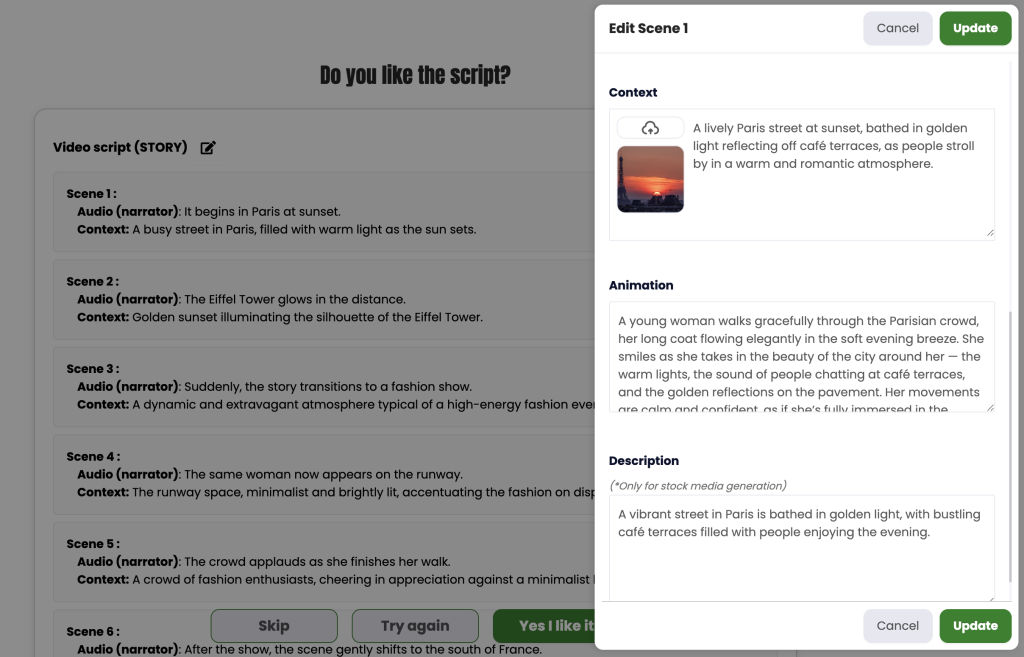
1) “A busy Paris street at sunset”
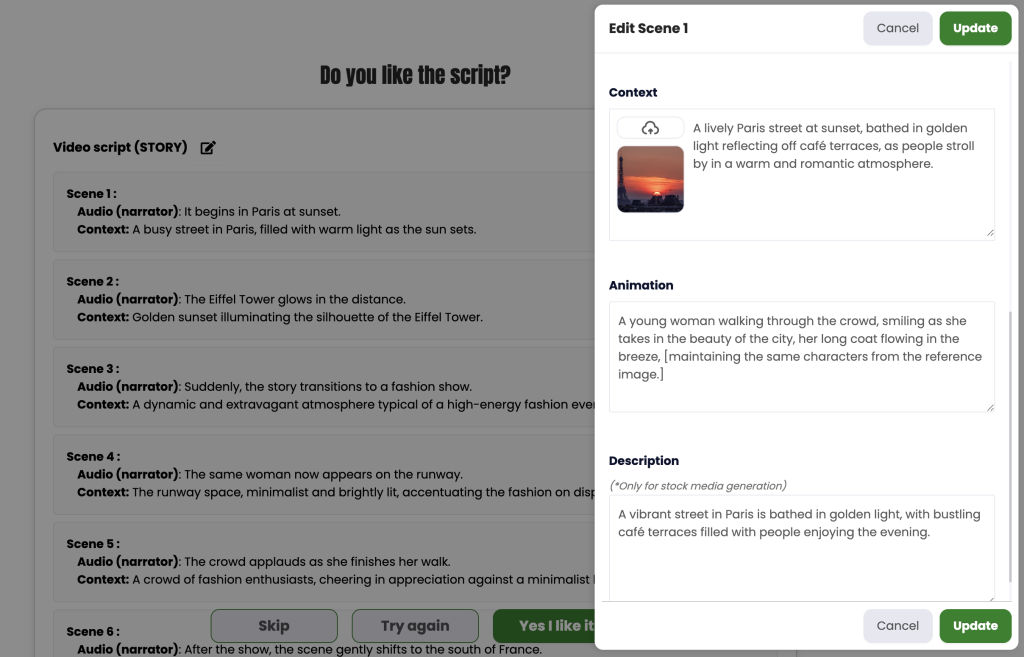
A. Open the scene you want to customize
select the scene → click Edit (pencil icon).
B. Add the context image (optional but recommended)
Upload 1 reference image of a Paris street at sunset — café terraces, Haussmann buildings, warm golden light, Eiffel Tower in the background.
Avoid dark or noisy photos.
C. Describe the context (to paste in the “Context” box)
“A lively Paris street at sunset, golden light reflecting off café terraces and Haussmann buildings. Warm and romantic atmosphere, light evening breeze, soft street noise, distant view of the Eiffel Tower, realistic lighting and subtle depth of field.”
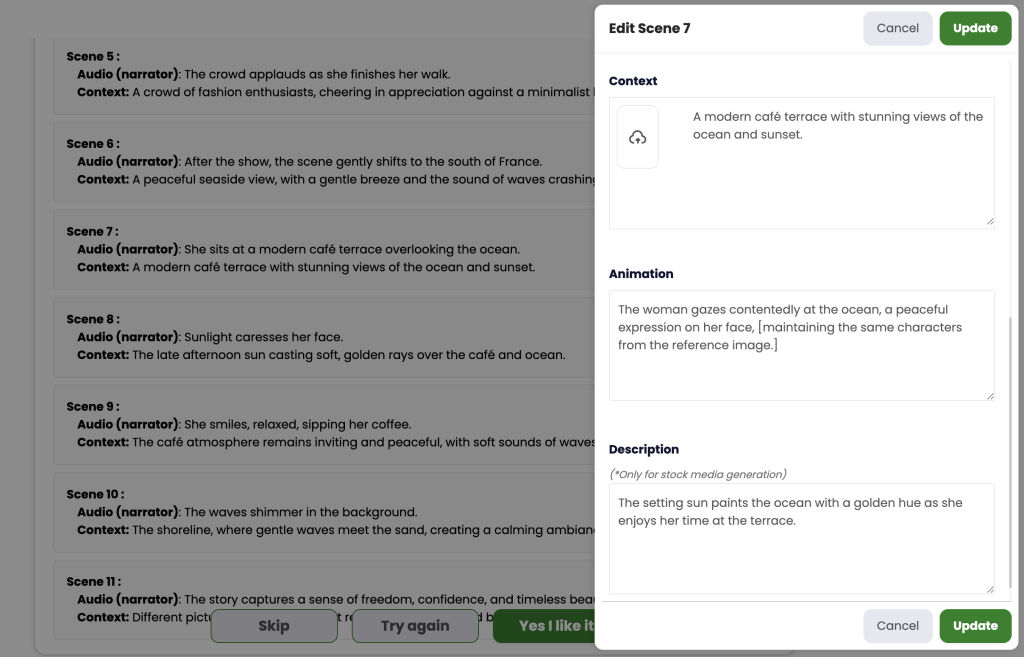
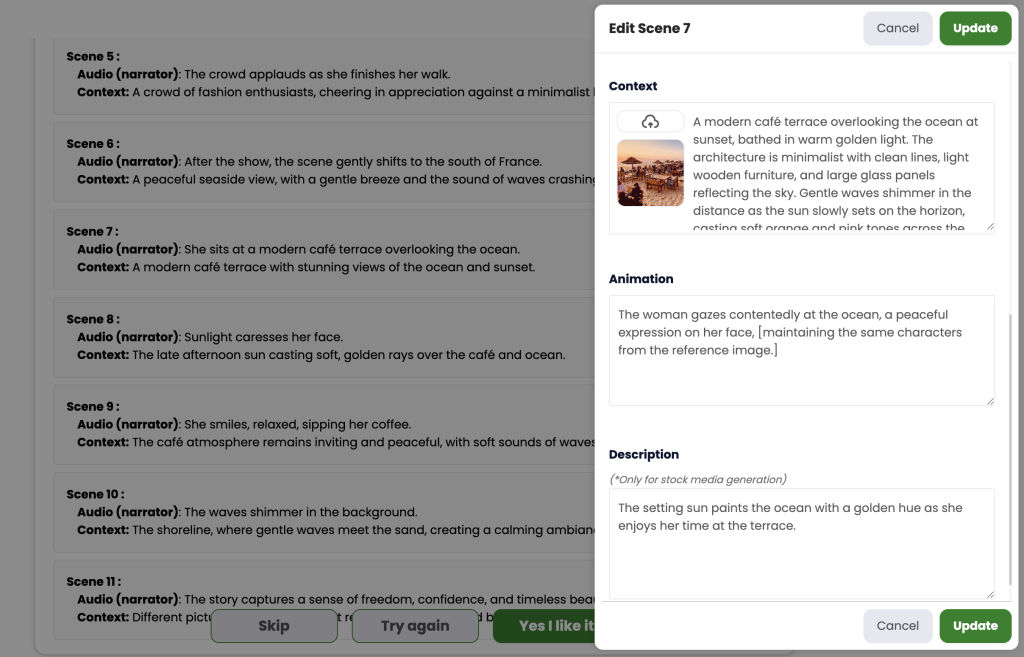
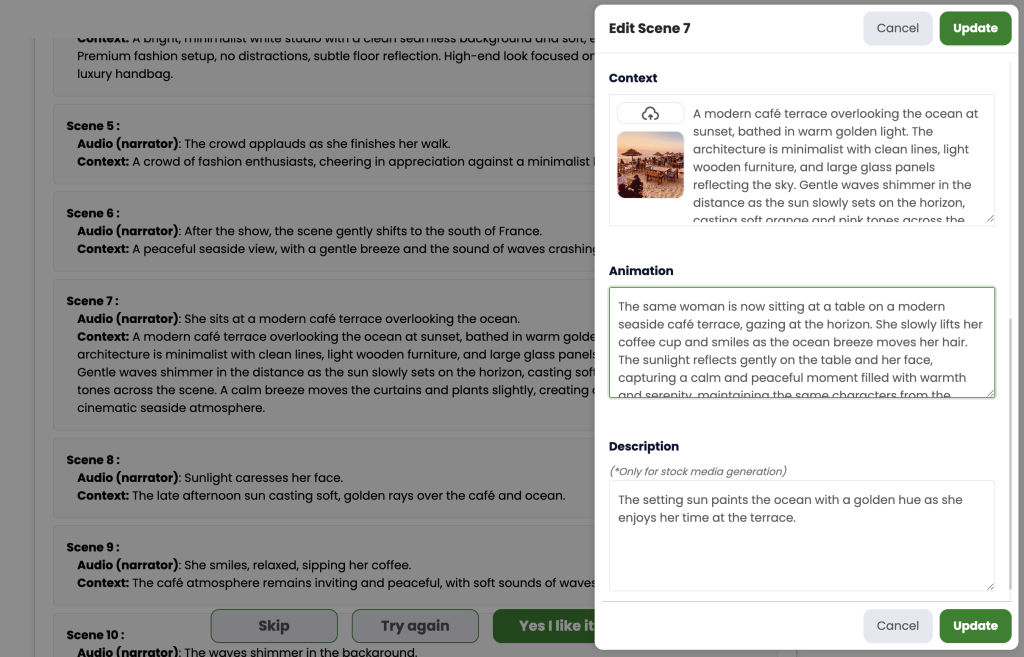
2) “A modern seaside café”
A. Open the scene you want to customize
- Select your scene → click Edit.
B. Add the context image (optional but recommended)
- Upload 1 image of a modern seaside café — light wood terrace, wide glass windows facing the ocean, minimal design.
- Prefer a warm late-afternoon lighting mood.
C. Describe the context (to paste in the “Context” box)
“A modern seaside café with clean lines, light wood terrace, and large glass windows facing the ocean. Warm late-afternoon sunlight, gentle sea breeze, calm and relaxed mood, realistic reflections and soft ambient sounds of waves.”
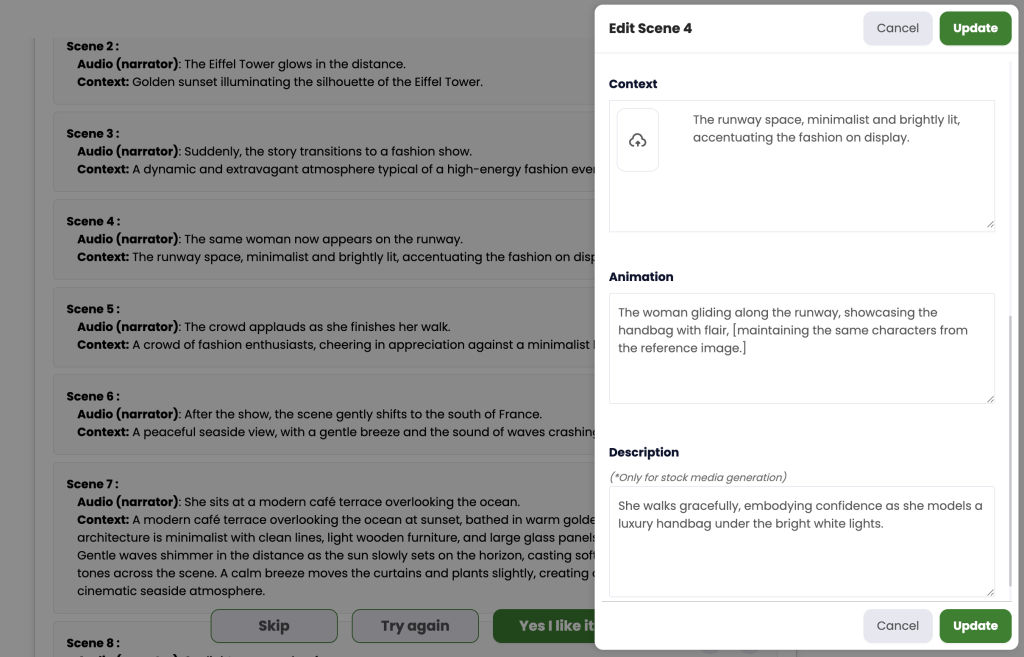
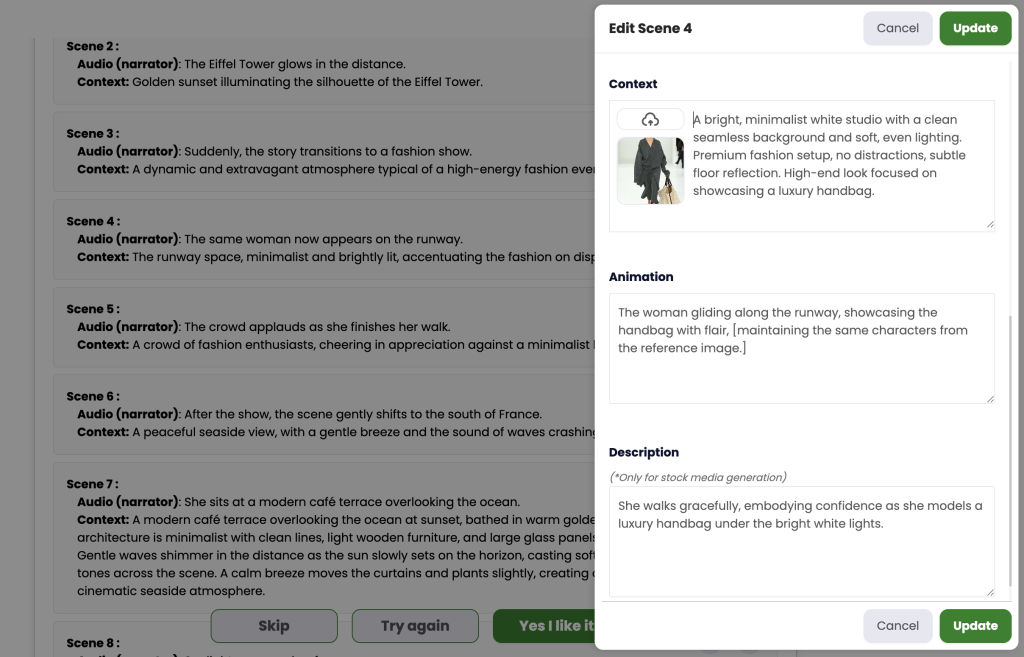
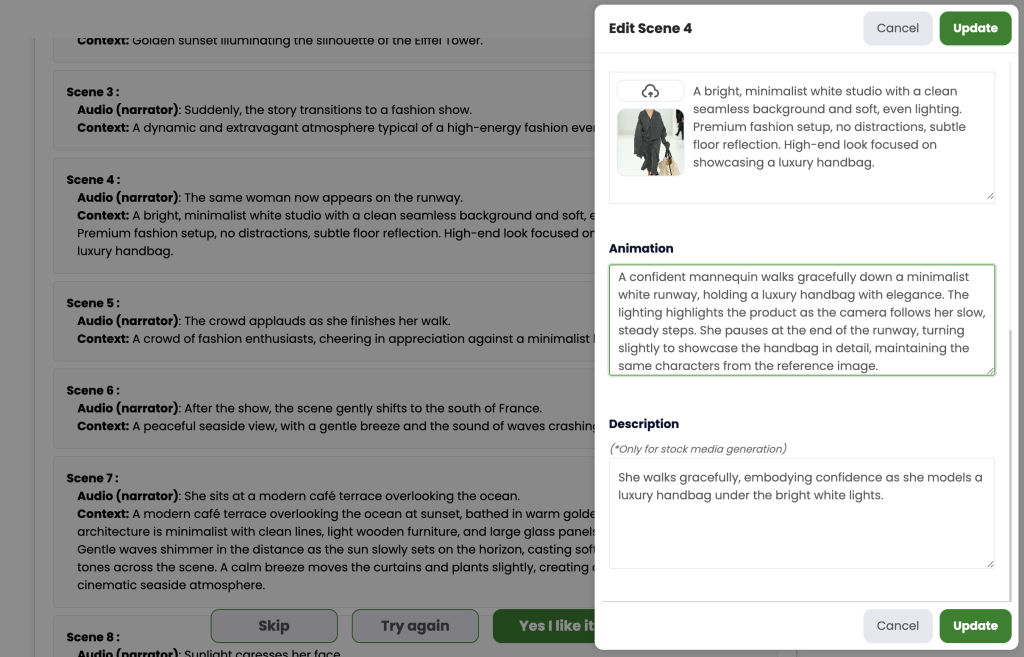
3) “A mannequin showcasing a handbag on a bright white background”
A. Open the scene you want to customize
- Select your product or fashion scene → click Edit.
B. Add the context image (optional but recommended)
- Upload 1 visual of a bright white studio — seamless background, softbox lighting, minimal setup.
- Avoid harsh shadows or busy elements.
C. Describe the context (to paste in the “Context” box)
“A bright, minimalist white studio with a clean seamless background and soft, even lighting. Premium fashion setup, no distractions, subtle floor reflection. High-end look focused on showcasing a luxury handbag.”
💡 Tip:
Be specific — mention the location, time of day, lighting, or mood.
The more details you provide, the more accurate and visually appealing your video will be.
🎭 Step 2: The Animation
In the “Animation” box, describe what happens in the scene — the actions, movements, or behaviors you want to show.
📝 Good examples of animations:
1) A busy Paris street at sunset
Animation:
A young woman walks gracefully through the Parisian crowd, her long coat flowing softly in the evening breeze. She smiles as she looks around, captivated by the beauty of the city — the café lights, the golden reflections on the buildings, and the faint sound of street musicians. The atmosphere feels warm, elegant, and alive, maintaining the same characters from the reference image
☕ 2) A modern seaside café
Animation:
The same woman is now sitting at a table on a modern seaside café terrace, gazing at the horizon. She slowly lifts her coffee cup and smiles as the ocean breeze moves her hair. The sunlight reflects gently on the table and her face, capturing a calm and peaceful moment filled with warmth and serenity, maintaining the same characters from the reference image.
👗 3) A mannequin showcasing a handbag on a bright white background
Animation:
A confident mannequin walks gracefully down a minimalist white runway, holding a luxury handbag with elegance. The lighting highlights the product as the camera follows her slow, steady steps. She pauses at the end of the runway, turning slightly to showcase the handbag in detail, maintaining the same characters from the reference image.
💡 Tip:
Use action verbs and describe the tone (slowly, confidently, energetically, etc.) to help the AI create a smooth, realistic animation.